AWS KMS를 사용하여 DB의 계정 정보를 암호화하여 Spring에서 사용하는 방법을 알아보겠습니다.
내가 작성한 Spring 코드를 Github에 공개하고 싶은데 민감한 계정 정보, DB 연결 정보는 공개하고 싶지 않을 때 유용하게 사용할 수 있습니다.
1. IAM 유저 생성
먼저, AWS IAM - Users에 들어가서 아무 권한을 할당받지 않은 유저를 하나 생성합니다.
이 유저에 우리가 앞으로 생성할 KMS 키에 대한 권한만 부여해줘서, 만약 이 유저의 권한이 탈취되어도 다른 AWS 서비스는 건드리지 못하게 하기 위함입니다.
그리고 아래와 같이 ~/.aws/credentials 파일에 위에서 생성한 유저의 이름과 Access Key와 Secret Key를 입력합니다.
~/.aws/credentials1
2
3
| [kms_test_user]
aws_access_key_id = ABCDEFGHIJKLMNOPQRST
aws_secret_access_key = e3wTLBH9MI1a ... jT6C+BjY+D
|
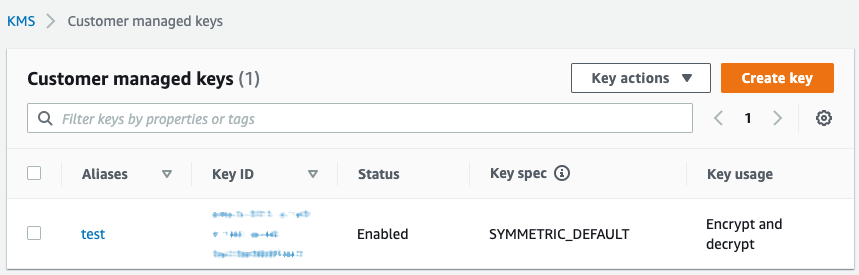
2. 키 생성
AWS KMS - Customer managed keys에 들어가서 Create key 버튼을 클릭합니다.
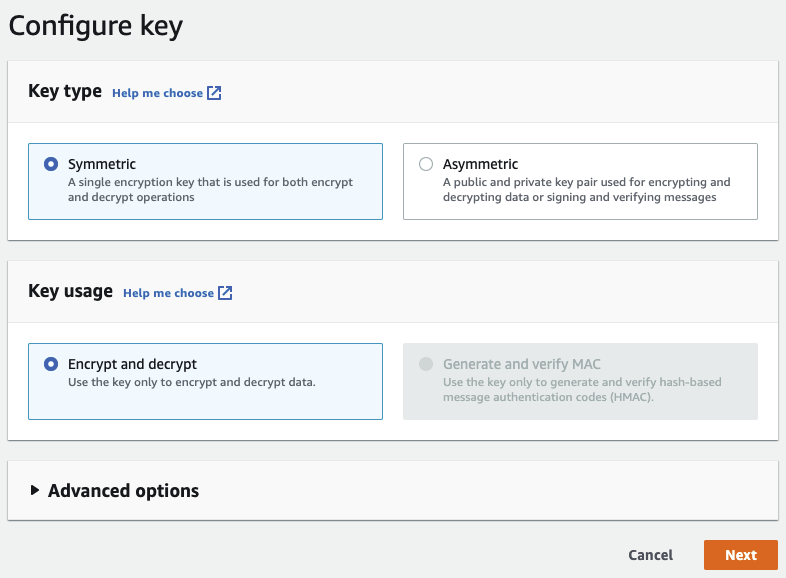
대칭키를 생성할건지 비대칭키를 생성할건지 선택하는 단계입니다. 일단 대칭키로 선택하고 다음으로 넘어갑니다.
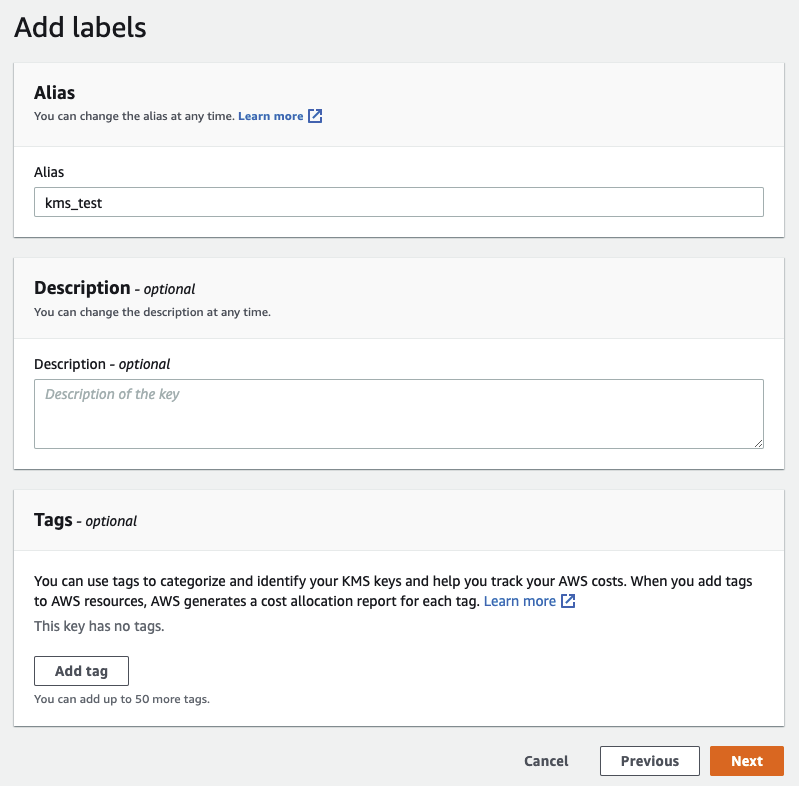
별명, 설명, 태그를 입력하는 단계입니다. 적당한 별명을 하나 적고 다음으로 넘어갑니다.
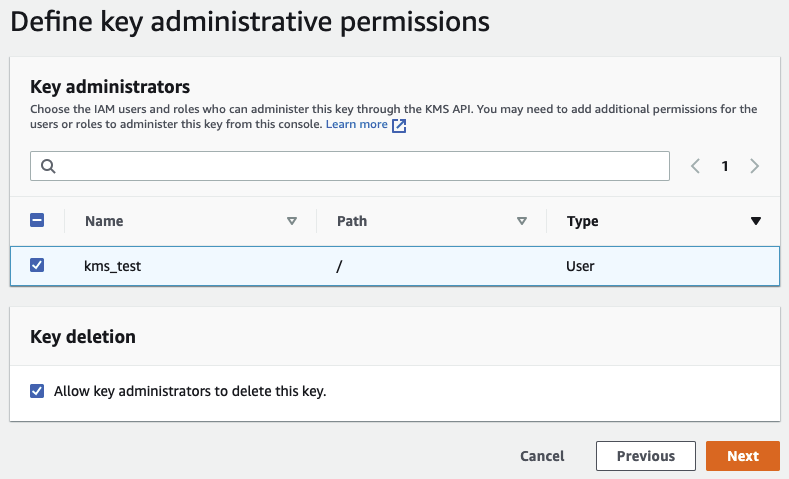
키를 관리할 유저를 고르는 단계입니다. 아까 생성한 유저를 선택하고 다음으로 넘어갑니다.
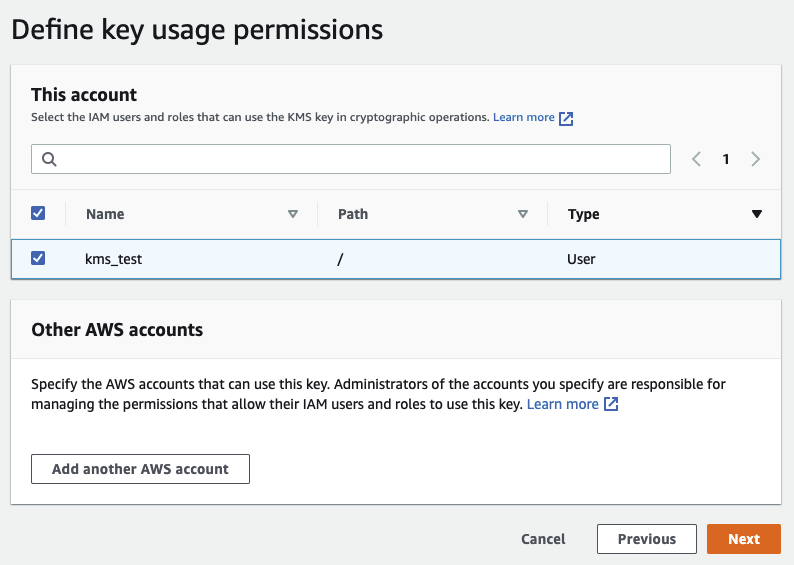
키를 사용할 유저를 고르는 단계입니다. 아까 생성한 유저를 선택하고 다음으로 넘어갑니다.
마지막으로 입력한 내용을 리뷰하는 단계를 거치면 키 생성이 완료됩니다.
3. 암호화, 복호화
본인이 개발하고 있는 Spring 프로젝트에 AWS KMS SDK를 추가합니다.
build.gradle1
| implementation 'com.amazonaws:aws-java-sdk-kms:1.12.233'
|
다음과 같은 코드를 사용하면 데이터를 암호화, 복호화 할 수 있습니다.
여기서 profile은 ~/.aws/credentials 파일에 입력해두었던 유저의 이름입니다.
KmsUtils.java1
2
3
4
5
6
7
8
9
10
11
12
13
14
15
16
17
18
19
20
21
22
23
24
25
26
27
28
29
| public class KmsUtils {
public static String encrypt(String profile, String keyId, String text) {
AWSKMS kmsClient = AWSKMSClientBuilder.standard()
.withCredentials(new ProfileCredentialsProvider(profile))
.withRegion(Regions.AP_NORTHEAST_2)
.build();
EncryptRequest request = new EncryptRequest();
request.withKeyId(keyId);
request.withPlaintext(ByteBuffer.wrap(text.getBytes(StandardCharsets.UTF_8)));
byte[] cipherBytes = kmsClient.encrypt(request).getCiphertextBlob().array();
return Base64.encodeBase64String(cipherBytes);
}
public static String decrypt(String profile, String keyId, String cipherBase64) {
AWSKMS kmsClient = AWSKMSClientBuilder.standard()
.withCredentials(new ProfileCredentialsProvider(profile))
.withRegion(Regions.AP_NORTHEAST_2)
.build();
DecryptRequest request = new DecryptRequest();
request.withKeyId(keyId);
request.withCiphertextBlob(ByteBuffer.wrap(Base64.decodeBase64(cipherBase64)));
byte[] textBytes = kmsClient.decrypt(request).getPlaintext().array();
return new String(textBytes);
}
}
|
4. DB 연결 정보 암호화하여 사용하기
다음과 같이 properties 파일에 암호화된 값을 입력하여 안전하게 DB 연결 정보를 관리할 수 있습니다.
application.properties1
2
3
4
5
| kms.keyId=00000000-0000-0000-0000-000000000000
kms.profile=kms_test_user
kms.url=IBsYxPm5o6lw37yCx6 ... SbfYupHPnup/vp2ioj5v01SX5B
kms.username=tsa7mB2AAAAYj ... +AgEQgB98PVs+Ui03bAzuhhHJY
kms.password=BeAgEAMFkGCSq ... WLqaZZOHusbcdDDOLM3RWCZw==
|
KmsProperties.java1
2
3
4
5
6
7
8
9
| @Data
@ConfigurationProperties("kms")
public class KmsProperties {
private String keyId;
private String profile;
private String url;
private String username;
private String password;
}
|
DatabaseConfiguration.java1
2
3
4
5
6
7
8
9
10
11
12
13
14
15
| @Configuration
@EnableConfigurationProperties(KmsProperties.class)
public class DatabaseConfiguration {
@Bean
public DataSource dataSource(KmsProperties properties) {
String profile = properties.getProfile();
String keyId = properties.getKeyId();
return DataSourceBuilder.create()
.url(KmsUtils.decrypt(profile, keyId, properties.getUrl()))
.username(KmsUtils.decrypt(profile, keyId, properties.getUsername()))
.password(KmsUtils.decrypt(profile, keyId, properties.getPassword()))
.build();
}
}
|
5. 특정 IP만 암/복호화 허용하기
키를 사용할 때 등록되어 있는 IP에서 온 암/복호화 요청만 허용하게 설정해줄 수 있습니다.
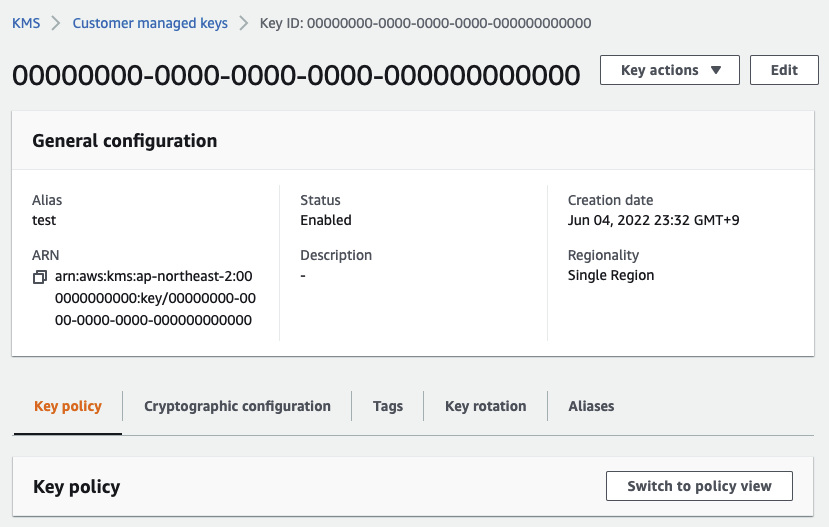
AWS KMS 콘솔에서 아까 생성한 키를 클릭하여 자세한 정보 화면으로 들어갑니다.
여기서 Switch to policy view 버튼을 클릭합니다.
그럼 키 정책이 담겨 있는 JSON 파일이 뜹니다.
여기서 다음과 같이 각 Statement 마다 Condition을 추가해줍니다.
Key Policy JSON File1
2
3
4
5
6
7
8
9
10
11
12
13
14
15
16
17
18
19
20
| {
"Sid": "Allow use of the key",
"Effect": "Allow",
"Principal": {
"AWS": "arn:aws:iam::000000000000:user/kms_test_user"
},
"Action": [
"kms:Encrypt",
"kms:Decrypt",
"kms:ReEncrypt*",
"kms:GenerateDataKey*",
"kms:DescribeKey"
],
"Resource": "*",
+ "Condition": {
+ "IpAddress": {
+ "aws:SourceIp": "1.2.3.4/32"
+ }
+ }
}
|
이렇게 설정해 두면 위에서 써놓은 IP 주소에서만 이 KMS 키를 사용할 수 있습니다.
Ref